Mixing electric guitars can sometimes feel like trying to solve a complex puzzle where each piece represents a different element of sound—tone, volume, panning, effects. Whether you write rock, pop, or EDM, there’s a good chance you’re using electric guitar recordings in your arrangements. What we hear in the room versus what we hear tracked can be two different things.
In this article, Eguitarmania will show a tutorial on how to mix electric guitar quickly and efficiently. From achieving the right balance between the guitar and other instruments to utilizing effects and EQ settings to bring out the best in your guitar tracks,. Follow us to learn 7 tricks and recommendations for mixing the electric guitar.
Preparation Phase : Get Ready For Smooth Process
There are a lot of important steps you will take at this stage to make sure that your music has the emotional impact you want it to have on the listener, as well as being clear and balanced.
Gain staging
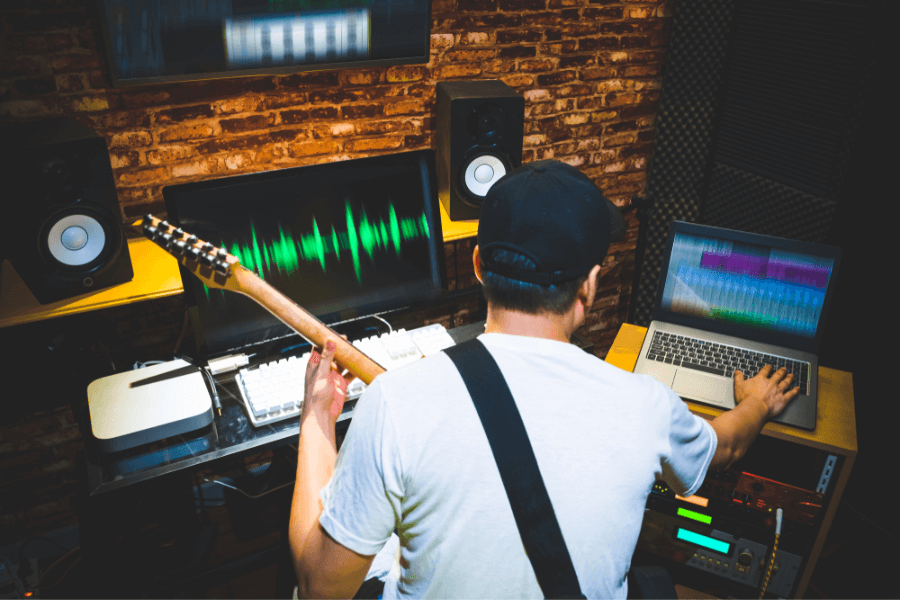
This is how you control the levels of your tracks so that they don’t clip and the sound quality stays high while you mix. It is essential for achieving a balanced, clear, and dynamic mix. For example, when mixing a recent project, adjusting the gain of each guitar track to sit well within the mix before applying any EQ or effects drastically improved the clarity of the final mix.
Headroom in the mix is created by setting the gain correctly. This means that you can change and improve your tracks without losing their quality or distorting them. It’s about getting each track just the right amount of loudness so that it’s clear and powerful without being so loud that it causes technical problems or hides other parts.
Keep your guitar tracks organized
When mixing, organisation is very important, especially when there are several guitar tracks. It can be easier to mix if you clearly label each track (for example, “Rhythm Guitar – Verse,” “Lead Guitar – Chorus”) and put them all in the same group.
By labeling and color-coding each track, I could swiftly navigate through the project, making efficient adjustments without losing creative flow. This not only saves time but also clears things up, so you can focus on the fun parts of mixing. This can be made even clearer by using colour coding and consistent naming practices.
Define context
It’s important to know what the electric guitar’s part is in the setup. Is it playing a rhythmic role by giving the harmonic base? Or is it a lead instrument that plays the tune or adds to it? How the guitar should be mixed with other instruments depends on the situation.
Identifying the electric guitar’s role within a track is essential, as mixing techniques vary greatly between genres, from metal to ballads. One example is that a rhythm guitar might need a different EQ method than a lead guitar to make sure it fits well in the mix and doesn’t drown out other sounds. Because the guitar can add so much to the track’s texture and mood, it’s important to decide early on where you want the sound to go.
Preparing to mix electric guitar tracks is a critical phase that sets the foundation for achieving a polished and dynamic sound in your final mix.
5 Tips And Tricks : How To Mix Electric Guitar
Layer Different Guitars Together
Mixing your instruments while soloing is one of the biggest mistakes you can make. Listeners love to listen to harmonies within the context of your mix. Once you start applying processing to your guitar tracks, toggle off the solo button and listen to how your guitars interact with the rest of your mix. A guitar that sounds good on its own won’t necessarily sound the same when you place it among other instruments.

Layering different guitars is a powerful technique to create a rich, full-bodied sound. This approach involves recording several guitar parts or takes and blending them together in the mix.
The reason your electric guitar doesn’t sound as thick and full as the guitars in your favorite rock songs is that you aren’t using enough of them. Achieving a massive wall of sound can be done by layering different guitars together.
I’ve personally found that using guitars with different pickup settings or amplifiers when layering can introduce a complementary contrast that enriches the overall mix.
It’s alright if you only have access to one guitar or amp. You can record your electric guitar directly into your audio interface and run the recording through an amp simulation suite like GTR3 or Guitar Rig; these plugins will drastically expand your palette of sonic options.
Instead of spending hours manually aligning the timing of your guitar takes, consider using a plugin like Revoice Pro 4 to edit the pitch and time of all your guitar recordings at once. It allows you to perform batch track edits that use your lead guitar as a reference source.
Layering guitars require a blend of technical know-how and creative experimentation. By trying unconventional combinations and being meticulous with EQ and panning, we can create amazing sound.
Panning is Essential
Panning helps to create a sense of space and dimension in a mix. Distorted electric rhythm guitars generally aren’t very dynamic and tend to take up lots of space frequency-wise. If you filter out or weaken too much low-end, they’ll sound weak and lifeless. By strategically positioning guitar tracks across the stereo field, you can achieve a more engaging and dynamic sound.
- Creating Width: When you have two bass guitar parts, for example, moving one to the left and the other to the right can make the mix sound bigger and fuller.
- Enhancing Listener Engagement: Strategic use of panning can make your mix more interesting and exciting to the listener.
- Avoiding Frequency Clashes: Panning can also help to minimize frequency clashes between guitar parts and other instruments.
I usually place guitar solos straight up the middle unless they’ve been double-tracked, or if the melody has been doubled on a different instrument. Don’t be afraid to experiment with extreme panning positions, where a more dramatic stereo effect can enhance the overall listening experience.
Using compression
Compression, when used appropriately, can be a game-changer when mixing electric guitars. It ensures consistency in your tracks, ensuring that all parts of the performance are heard clearly without overwhelming the mix. However, improper use can remove the dynamics from your guitar tone.

Before dialing in a compressor, understand why you’re using it. Are you trying to level out a rhythm part, add sustain to a solo, or simply control peaks?
- Attack and Release Settings: If you want to retain the pick attack and natural dynamics of a guitar riff, opt for a slower attack time. This allows the initial transient to come through before the compression kicks in.
- Balancing Dynamics: Compression helps to even out these dynamics, making the performance more cohesive.
- Gain Reduction: Monitoring the amount of gain reduction is essential to avoid over-compression, which can lead to a lifeless sound.
When mixing electric guitars, a lower compression ratio often suffices. This provides a gentle leveling without squashing the dynamics. Only use higher ratios if you’re aiming for a very compressed, “pumping” effect.
Sometimes, only a specific frequency range needs compression (for example, taming boomy lows or piercing highs). Multi-band compressors let you compress individual frequency bands, offering more precision.
While these guidelines can help, it’s essential to rely on your ears. Experimenting with different compressor types (VCA, Opto, and FET) has also allowed me to discover unique textures and tones that fit the mood of the track. Always compare the compressed and uncompressed signal to ensure you’re enhancing, not detracting from, the guitar tone.
Cut Low-End Using a High-Pass Filter
Records using electric guitars often include unplayable low-end frequency content between 40 and 80 Hz. When these frequencies are present, they create a low-end “rumble” and could make your mix seem “muddy.” Frequency is to blame for this lack of clarity. A high-pass filter can resolve this issue.
Apply a high-pass filter around 40-80 Hz with a parametric EQ like Sonnox Oxford EQ Brainworx bx_hybrid EQ busier mixes will probably benefit from setting the filter’s center frequency between 80-100 Hz. Make sure that you don’t hard cut the low end because it can end up sounding terribly unnatural. Instead, use a gradual slope to gently roll off the low end.
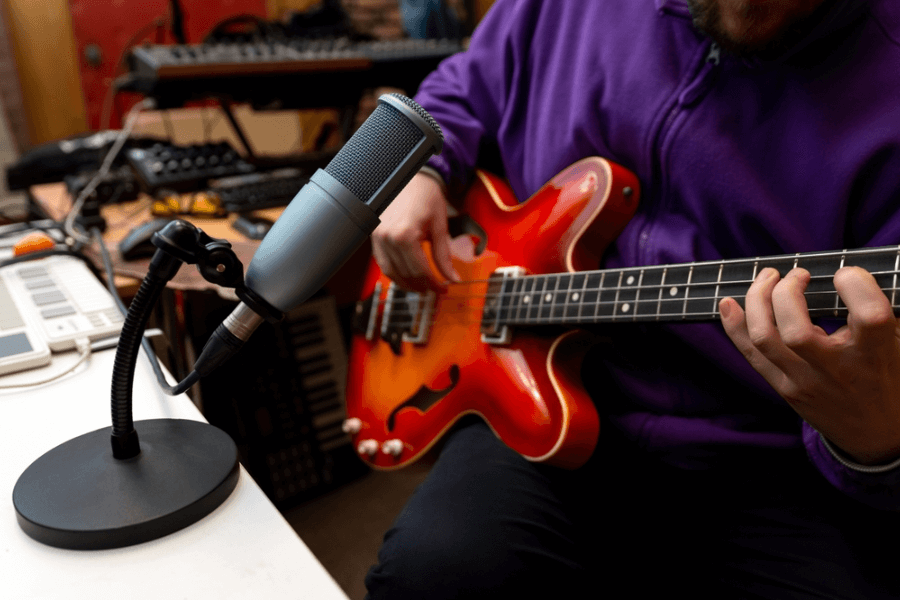
Have we stressed the importance of high pass filtering enough yet? Unfortunately, there’s so much misinformation out there about filtering, particularly high pass filtering. Going against the grain, some engineers have even advocated for the elimination of HPFs. The truth is that this is not the case.
When it comes to balancing mix parts and allowing each instrument to reside in its own frequency band, filtering takes on a lot of the work. Of course, filtering is necessary when blending guitars. You don’t want the guitar to conflict with the bass, thus filtering out the lowest frequencies is vital.
Dynamic mixing with automation
Once the volume of your music is just right, you can use an EQ to start boosting and lowering certain sounds. If you want less of a particular characteristic, apply gain reduction, and if you want more of a specific characteristic, apply gain amplification.
As I already said, one of the most common issues I have when mixing electric guitars is that they take up a lot of room compared to other sounds. However, subtractive equalization allows us a great deal of flexibility. Of course, there are times when guitars need extra EQ to sound their best and stand out in a mix.
The information between 500 Hz and 6 kHz is essential for the fidelity of the instrument, and I’ll often use a surgical EQ such as the FabFilter Pro-Q 3 to both remove unwanted resonances and boost in areas that are lacking.
Using the audition function on an EQ that only plays the frequencies within the Q is also very useful to use in tandem with this process. As a starting point, you can use the following as a very rough EQ guide for electric guitar:
| Frequency Range | Action | Notes |
| 80 Hz and below | Cut | Removes low-end rumble, cleans up the mix. |
| 100 Hz – 350 Hz | Optional Boost | Adds warmth and fullness, be cautious of muddiness. |
| 2-3 kHz | Attention Required | Defines pick sound, watch for harshness. |
| ~4kHz & ~6 kHz | Surgical Cut | Target “nails on chalkboard” & static, remove carefully. |
| 10 kHz+ | Cut | No fundamental frequencies here, helps reduce noise. |
Final Thought
Mixing guitars isn’t just about compression, EQ, and creative effects in the box. The journey from raw tracks to a polished mix requires precision and creativity. With practice and experimentation, you can achieve a balanced, dynamic electric guitar sound. Follow Eguitarmania for more expert tips on electric guitars.

