What is a truss rod on your electric guitar ?
The truss rod is a long, thin metal rod that runs inside the guitar’s neck, beneath the fretboard. Its primary function is to counteract the tension created by the strings and to maintain the neck’s stability and curvature (also known as relief).
The truss rod plays a pivotal role in the guitar’s overall playability, allowing adjustments to be made that can affect the action (string height), prevent buzzing, and ensure the neck remains straight and true.
Guitar necks are crafted from wood, a natural material that responds to environmental changes such as humidity and temperature. This responsiveness can lead to warping or bending over time, which is where the truss rod’s importance is magnified. By tightening or loosening the truss rod, you can adjust the neck’s curvature to compensate for these natural shifts, keeping your guitar’s playability at its peak.
Where to find your guitar’s truss rod adjustment :
The location of the truss rod adjustment can vary depending on your electric guitar’s make and model, but generally, you’ll find it in one of three places:
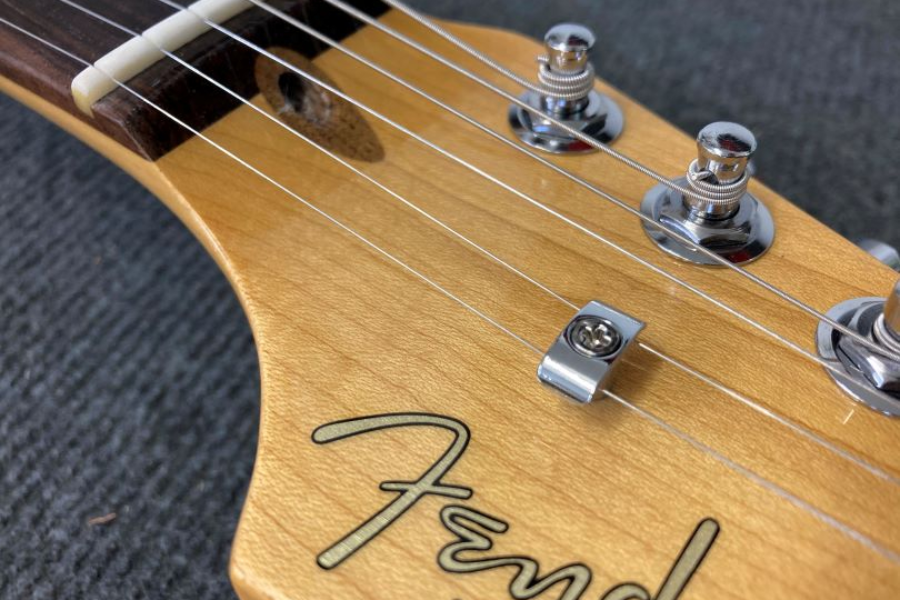
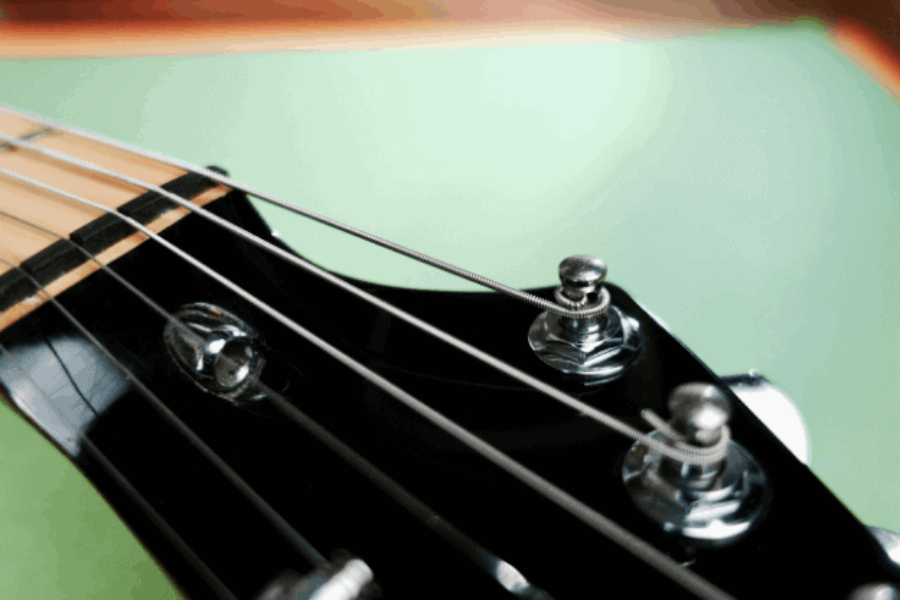
- Headstock: The most common location for truss rod adjustment is at the headstock, just above the nut. Here, you might see a cover that needs to be removed to access the adjustment nut or bolt. Guitars with this type of adjustment often require a specific allen key or wrench, which is sometimes supplied with the guitar.
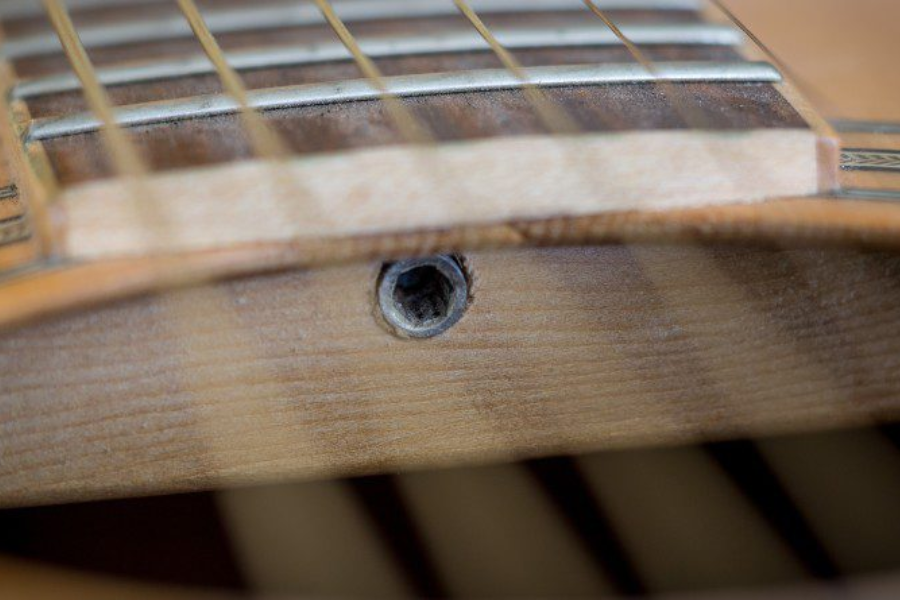
- At the Body End of the Neck: Some models feature the truss rod adjustment at the body end of the neck, which might require you to remove the guitar’s neck or look through the soundhole for acoustic guitars. However, for electric guitars, this usually means you’ll find the adjustment point at the base of the neck, where it joins the guitar’s body. This design is less common but can be found in some vintage models or specific brands.
- Through the Soundhole: Primarily found in acoustic guitars but worth mentioning, some truss rod adjustments are made through the soundhole, requiring a long wrench to reach. This is rare for electric guitars but possible in semi-acoustic or hollow-body models.
Why do you adjust the truss rod electric guitar ?
A well-adjusted truss rod is crucial for your guitar’s balance and performance. It’s all about keeping the neck of your guitar just right – not too bowed, not too straight. This magical balance affects how close the strings are to the fretboard, which in turn, influences everything from how easy it is to press the strings down, to how your guitar sounds.
Adjusting the truss rod allows you to control the amount of relief in your guitar’s neck, ensuring that the strings vibrate freely without hitting the frets, and keeping the action (the distance between the strings and the fretboard) comfortable for your playing style. It’s about finding that sweet spot where your guitar feels just right in your hands.
When to adjust the truss rod on your electric guitar ?
Alright, here’s how to tell it’s time you should you take a closer look at your truss rod:
- String Buzzing: If you notice an unusual amount of buzzing from your strings, especially when you’re playing certain notes or chords, it could be a sign that your neck has too much relief or not enough.
- Action Feels Off: If the strings feel too high or too low against the fretboard, making it difficult to play smoothly, it might be time to adjust the truss rod. A well-adjusted truss rod can help achieve the optimal action for your playing comfort.
- Visible Neck Curvature: Take a moment to look down the length of your guitar’s neck from the headstock towards the body. If the neck looks visibly warped or bent, this is a clear indicator that the truss rod needs attention.
- Seasonal Changes: Wood reacts to changes in humidity and temperature, so it’s smart to check your guitar’s neck when seasons change, especially if you live in an area with significant climate shifts.
- New Strings: If you’ve just changed your strings, especially if you’re moving to a different gauge (thickness), this can alter the tension on the neck and may require a truss rod adjustment.
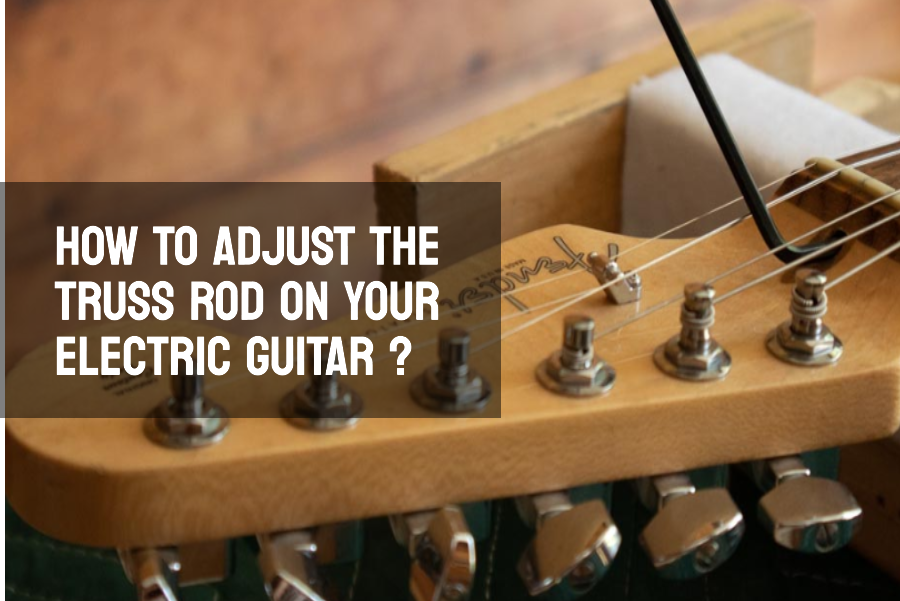
How to adjust truss rod electric guitar ?
We’ll walk through this step-by-step, making sure you have all the know-how to keep your guitar in top shape. Let’s get started, shall we?
- Locating the Truss Rod Adjustment
First up, you need to know where to find that truss rod adjustment. It’s sitting snug inside your guitar’s neck, but the actual spot where you’ll make the adjustments can vary. You might find it at the headstock end, often under a decorative cover, or it could be at the body end of the neck. The latter might require removing the neck for adjustments, so fingers crossed you have the headstock type!
- Grabbing the Right Tool
Now, let’s talk tools. The adjustment nut could need an allen key, a crosshead, a small brass nut, or even a spoke hub type. Usually, the right tool is hiding somewhere in your guitar case, so have a little search. It’s super important to use the correct tool to avoid damaging your guitar.
- Prepping Your Electric Guitar
On an example like the Ibanez RG, the truss rod adjuster is under the cover, and you’ll need a 7mm box spanner for it. Before you dive into adjusting, fit your new strings and tune them up to your preferred tuning. Remember, the string gauge and tuning will affect the tension on the neck.
- Measuring Neck Relief
To check your guitar’s neck relief, attach capos at the 1st and 15th frets. This uses the string as a straight edge to reveal the neck’s curvature without the nut and bridge height interfering. Now, measure the gap between the top of the 6th and 7th frets and the bottom of the string. A large gap might be great for slide guitar, but not so much for shredding.
- Adjusting the Truss Rod
If you see a big gap or your strings are buzzing against the fret tops, it’s time to adjust. Remember the golden rule: “righty tighty, lefty loosey.” Turning the adjuster nut clockwise tightens the truss rod, pulling the neck back and reducing the gap. Turning it counterclockwise loosens the truss rod, allowing for a bit more bow in the neck.
- Fine-Tuning with Feeler Gauges
To get the adjustment just right, use feeler gauges between the string and the 7th fret. For standard tuning and 0.011 gauge strings, a 0.007-inch gap is a good benchmark. This allows the string to vibrate without touching the frets, ensuring a clean sound.
- Trust Your Eyes
While feeler gauges are great, don’t underestimate the power of a good eye. Quick checks before a gig can help you spot if your neck is out of alignment. The perfect relief setting often comes down to your personal playing style and preference.
- The Lasting Setup
After adjusting, give your guitar a few days to settle. You might need to make minor tweaks as the neck adjusts to the new tension. This isn’t just about getting it right once; it’s about understanding your instrument and ensuring it stays in peak condition for every riff, solo, and chord you play.