It’s normal for musicians to pay attention to the parts of their gear that make the sound, like the pickups, strings, and effects pedals. Electric guitarists sometimes forgot that the guitar strap was an important tool for support. But it’s a mistake to forget how important a good strap is.
It’s just as important for them to pay attention to the quality and fit of their guitar strap to make sure it’s comfortable, stable, and a good time playing. That’s why if your guitar has straps already, great! If not, put them on right now. And this is where we will finally show you how to put a guitar strap on an electric guitar!
Do Electric Guitars Need Straps?

Electric guitars do need straps, especially when played standing.
Acoustic guitar players may use straps less than electric guitar players. Acoustic guitars’ shape and balance make them easier to play without a strap (when seated).
Acoustic guitars are larger and have a sharper waist curve. When seated, this larger, curved body may fit better on a your lap. Since the shape stabilizes the guitar against the player’s body, a strap may be unnecessary when sitting. Even neck and body weights make the guitar more stable and less likely to “dive” forward or backward.
Electric guitars have slimmer bodies and heavier parts like wide headstocks and heavy necks. Gibson SG and Les Paul models are examples. Even when sitting, playing without a strap can cause stability and comfort issues. You have to work harder to keep them in place or they will tip forward.
Acoustic and electric guitar players prefer straps when standing. An overall strap can improve playing comfort and stability.
For various reasons, you need a strap whether sitting or standing.
Players may unconsciously adjust their posture to support the guitar without a strap, causing strain or discomfort. Leaning forward to stabilize the guitar can strain the lower back and neck. Poor posture can cause chronic back, shoulder, and neck pain.
Players’ mobility may also be limited by posture adjustments without straps. They may grip the guitar too tightly with their thighs or use their fretting hand to support its weight. Less mobility can hinder quick chord changes and solos, lowering performance quality.
Most electric guitars come equipped with strap buttons (also known as strap pins) installed. You can install them with a strap immediately. These buttons are typically located in two places on the guitar:
- At the base of the guitar body: The point where the bottom curve of the guitar meets the sides. This is a secure and balanced point to attach one end of the strap.
- Near the neck joint/ the upper bout of the body: The second strap button is normally on the upper bout (the curved region of the body above the neck). Some guitars include a button on the back where the neck joins the body to balance the instrument when strapped on.

If the strap button on your guitar isn’t in a good spot (for example, some electric guitars only have one button at the bottom), or if you’d rather have it somewhere else for comfort or balance reasons, you can add one.
For example, Gibson SG is known for its lightweight and slim body, they sometimes suffers from neck dive due to its design. Players might add a strap button in a different location.
To put on a strap button, carefully drill a small test hole in the guitar and then screw the button into place.
What You Need
- A small drill and bit, about 1/16 inch or a bit smaller than your screw.
- A screwdriver to tighten the strap button.
- A strap button kit. It comes with the button and a screw. Sometimes there’s a felt washer to protect your guitar.
- Masking tape to mark the spot without harming your guitar’s look.
- A soft cloth or padding to keep your guitar safe while you work.
Where to Put It
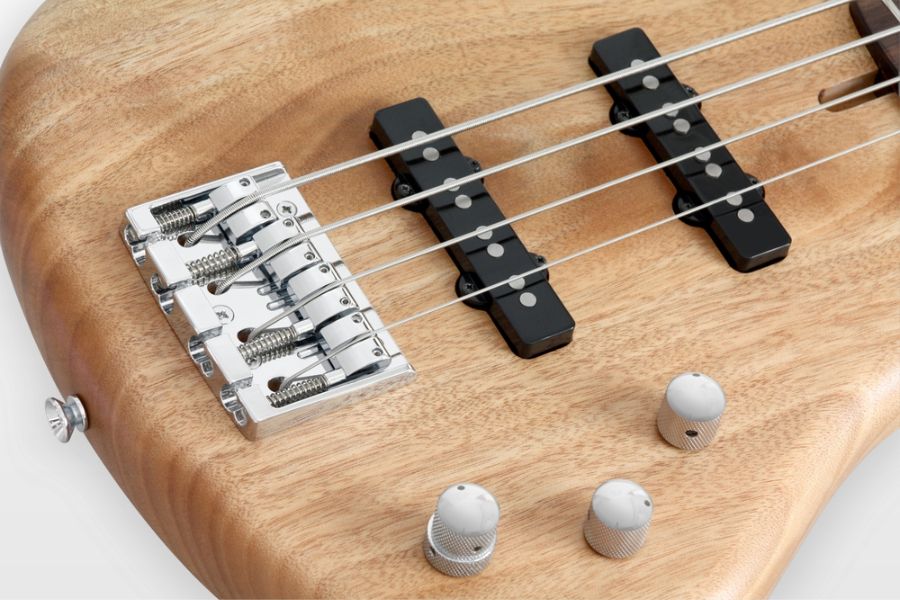
Most electric guitars have 2 strap buttons: at the bottom and near the neck. If yours doesn’t or you want it somewhere else, think about where it feels good. You want it to hang right and be comfy to play.
Step By Step Guide
- Set Up: Put your guitar on a flat spot with something soft under it. Find the best spot for the new button. It should be easy to reach and on a thick part of the wood.
- Mark It: Put masking tape on the spot you picked. This helps protect the finish.
- Drilling: Carefully drill a small hole where you marked. The hole should be a bit shallower than the screw and narrower. Keep the drill straight.
- Button On: If you have a felt washer, put it on the hole. Then put on the strap button. Tighten the screw with your screwdriver. Don’t make it too tight.
Strap Locks
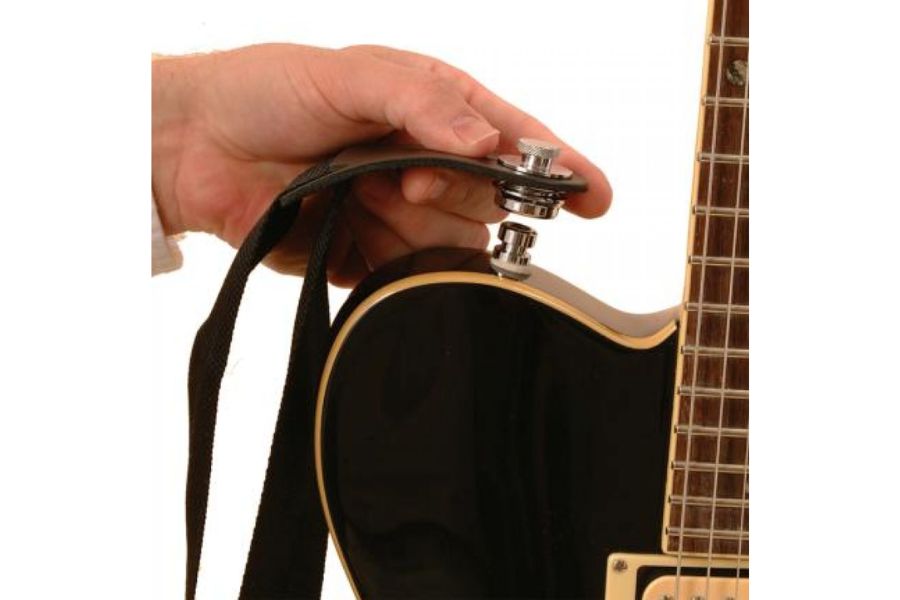
Some guitar players attach strap locks for security. Instead of strap buttons, strap locks include a locking mechanism that prevents the strap from falling off.
Two components make up strap locks: one attaches to the guitar strap and the other replaces the button. Two pieces lock together, usually with a spring, to retain the strap on the guitar until you remove it. This is excellent for stage performers that move a lot.
Installing strap locks on a guitar means taking off the original strap buttons. Strap lock buttons fit into the same holes as conventional strap buttons, so you can use a screwdriver.
There are various strap lock brands and types, each with its unique guitar strap locking mechanism. Popular brands include Schaller, Dunlop, and DiMarzio. Strap locks prevent straps from slipping, regardless of design.
How To Put Strap On An Electric Guitar?
We will now show you how to put a strap on your electric guitar. Make sure you have the strap buttons ready. Even though it’s easy, making sure you do it right will keep your guitar safely attached, so you can focus on playing without any worries.
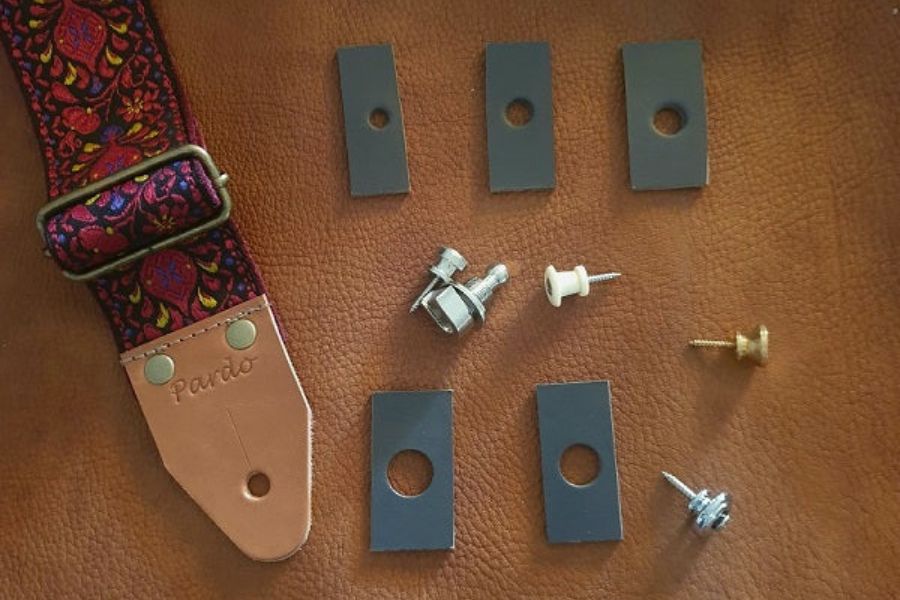
Step 1: Get Your Strap Ready
First, grab your guitar strap. Straps come in various materials like nylon, leather, and cotton, each offering different levels of comfort and durability. Pick one that feels good to you and matches your style.
Step 2: Identify the Strap Ends
Look at your strap. You’ll notice each end has a hole or slot—this is where you’ll attach it to the guitar. Some straps also have a locking mechanism for extra security, but we’ll stick to the basic setup for now.
Start with the bottom strap button on your guitar—the one at the base of the guitar body. Slide the hole at one end of the strap over this button. It might be a tight fit, especially if the strap is new, but that’s good. It means your guitar won’t easily slip off.
As you attach the strap, be mindful of the buckle’s position. Ensure the buckle is positioned comfortably, not pressing against you or the guitar. Keep it away from the guitar’s body to avoid scratches.
Now, take the other end of the strap and stretch it up to the top strap button. This button could be on the upper bout of the guitar body or near the base of the neck, depending on your guitar model. Slide the strap’s hole over this button, just like you did with the first one.
Step 5: Adjust Strap Length
With both ends of the strap attached, put the strap over your shoulder to see how the guitar hangs. Use the buckle to lengthen or shorten the strap until your guitar sits at a comfortable playing height. Adjust the strap length until you find the position to reach all parts of the fretboard without straining. the perfect fit.
Step 6: Double Check
Give both ends of the strap a gentle tug to ensure they’re securely attached to the buttons. You don’t want your guitar to fall mid-performance because the strap wasn’t on right.
Step 7: Play!
Now that your strap is securely attached and adjusted to your liking, you’re all set to play standing up.
A well-fitted strap not only prevents accidents by keeping your guitar securely in place but also helps maintain good playing posture, whether you’re practicing at home or performing on stage.
3 Tips On How To Play With Your Strap While Standing Up
Let’s make playing with your strap while standing easy and enjoyable with these tips.

Starting Right
No matter how much you like Jimmy Page, don’t start with your guitar on your knees. Though spectacular, it’s not the ideal move for beginners. Here is a better strategy: Start with your instrument higher on your body. It may not be very “rock star” yet, but it’s a good place to start getting relaxed. This way, you’re not reaching too far to reach the frets, which helps your fingers and playing.
Once you’re comfortable with the instrument high, drop it slowly. An inch or so each week. You can be comfortable and playable while getting that slick, low-slung style with this progressive change. Finding the right balance between comfort and elegance is key.
Handling Heavy Guitars
A guitar that feels lead-like? No worries—this can be fixed.
Wider straps are ideal here. It distributes weight evenly over your shoulder, making your heavy instrument seem lighter. Avoid one-shoulder workouts and enjoy more comfortable jam sessions.
Practice Makes Perfect
Make standing your routine. It may seem odd at first, particularly if you’re accustomed to sitting, but it changes performance preparedness. It also improves posture.
Take a Stroll: Are you feeling confident standing still? Move about. Mind your surrounds (you, coffee table). Avoiding bumps and bruises isn’t the only reason to practice dynamic guitar handling. You may find yourself spontaneously moving to the beat, which means you’re getting it.


