Playing quality music for an extended period of time can dull the guitar’s once-attractive and energetic sound. Guitar players often find themselves in this situation. Restringing your guitar is a great way to give it a fresh lease on life. Worrying that you might ruin your instrument or mess up the tuning is a common misconception about this necessary maintenance.
If you own a Fender electric guitar, this article will show you how to restring it. Detailed instructions and helpful hints are at your fingertips with Eguitarmania. Following these instructions will ensure that you remove the old strings from your guitar properly.
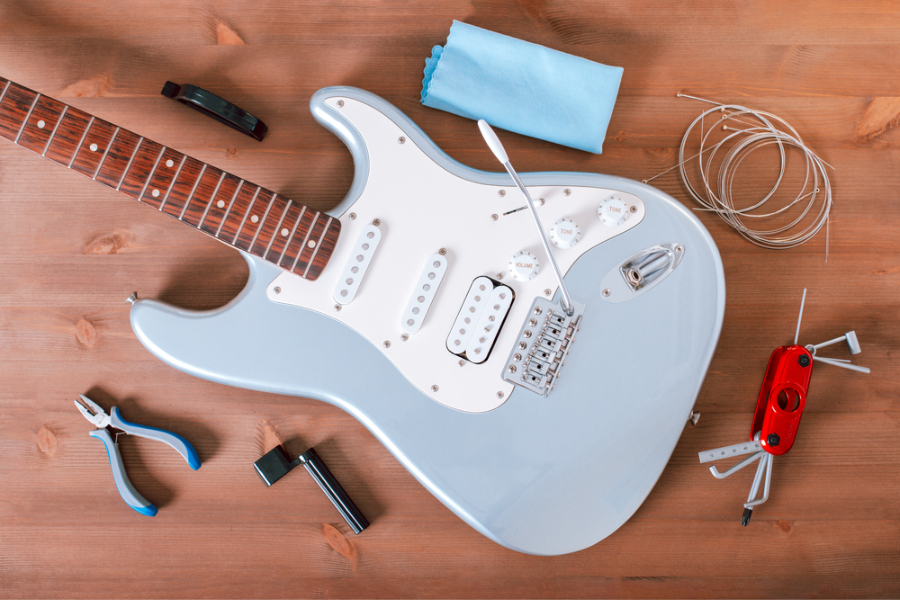
The Importance of Regularly Changing Guitar Strings
Guitar string changes are important for several reasons. Damaged sections of the instrument will impact sound and other parts. Sharp, vibrant sounds will become flat.
Old strings break easily, which can compromise your performance and ruin your instrument. Regular adjustments prevent failures.
When you buy an electric guitar, how often you play it determines its lifespan. The instrument is more likely to tumble or be hit violently if you constantly use it on stage.
To keep their performance schedule and repertoire fresh, professional electric guitar players must change strings. Furthermore, they will correctly modify the wiring. How strings alter depends on type. Electric guitar strings can be replaced in minutes or, for more complicated versions, in hours.
How To Restring An Electric Guitar Fender
These days, a lot of guitar players focus more on changing broken strings than on changing the whole string. So, this has the potential to significantly alter the electric guitar’s tone.
Consequently, it is recommended that you change all of the guitar strings simultaneously if you intend to change them. Here is how to change electric guitar strings properly.
Steps to change electric guitar strings
Learn to play the music that suits you best if you’re just starting out on the electric guitar. There is nothing about changing strings. The fact that you don’t know shouldn’t put you off too much, though; you can always study up or just follow the directions. Following these steps will help you replace an electric guitar the right way:
Step 1: Check the bridge
Before you start changing strings, you should check the condition of the bridge. Normally, electric guitars will have different bridges. Depending on the complexity of the bridge, you can apply different types of changes. However, the products all operate based on a certain general principle.
After you have finished checking, loosen the electric guitar lock so that the strings sag. Once you can slide your hand under the strings and touch the keys, you’re done. At this point, you should use scissors to cut each string or cut off the end of the string with a string cutter. This will not damage the electric guitar.
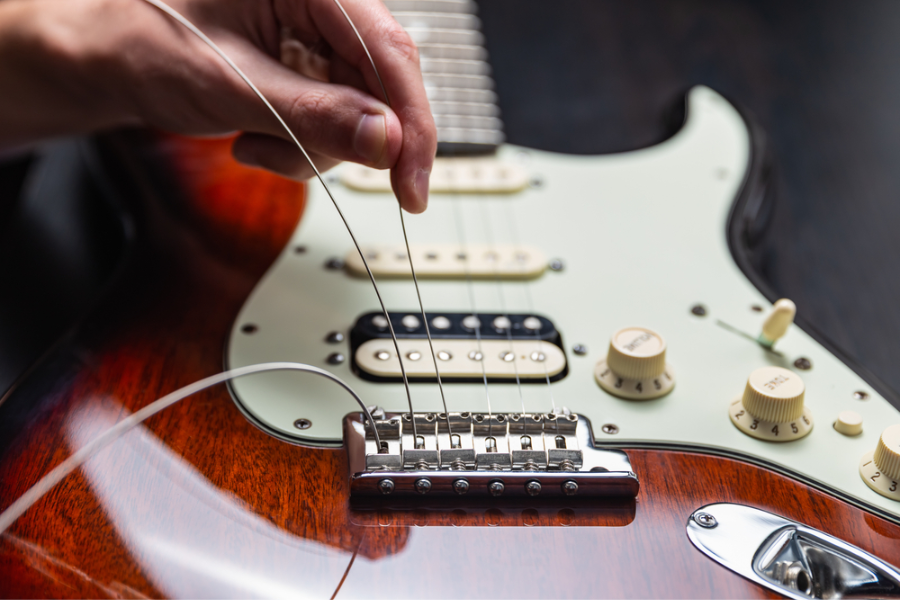
Step 2: Remove old strings
On a guitar with many strings, loosen the pegs and identify strings that are too old to be used. Turn on the adjuster to loosen the strings and gently pull it out. Meanwhile, you can cut the wire and pull it out, but don’t use too much force.
Keep in mind that taking the strings off all at once is the way to go if you’re just starting off. Eliminating all six strings simultaneously also considerably lessens the force releasing from the neck of the guitar.
Wipe the instrument’s neck clean. To protect the instrument, clean the keys and locking pins. Additionally, this protects the fresh strings and is healthy for the instrument.
Step 3 :Replace new wire
Before replacing new strings, remember to buy the correct strings suitable for the electric guitar you are using. Avoid using new strings that are too heavy as this will bend the neck of the instrument and make it difficult to adjust. To replace new strings, do it one string at a time, don’t be too greedy and only use six strings.
+ Place the instrument on a large table top to avoid scratches.
+ Determine the location of the hole that needs to be replaced. Slowly thread the string through the body of the guitar and pull it straight out to the neck of the guitar
+ Rotate the tuner to create a right angle with the guitar neck. Pull the strings through the holes to adjust the standard tension for the strings. You essentially create a loop with the end of the string around the rest, creating strength.
+ Use your hand to gently tighten the position where you just adjusted the string by placing your index finger on it and adjusting. Try to make your coils as neat as possible.
+ Use a tool to cut off the excess wire
Once you have successfully replaced the tube, you can use pliers to cut off the remaining part. You should leave a little string to avoid slipping and adjust later.
+ Finally, after replacing all six strings, you can use your hand to pluck to check whether the sound is correct or not. Adjust the sound to sound like the sound you are familiar with. Then use a towel to wipe the entire instrument once to make the instrument and strings look brighter.
With the above instructions for changing electric guitar strings, you don’t need to worry about how to change them. If you don’t get used to it at first, it may take a bit of time. But after doing it a few times it becomes simpler.
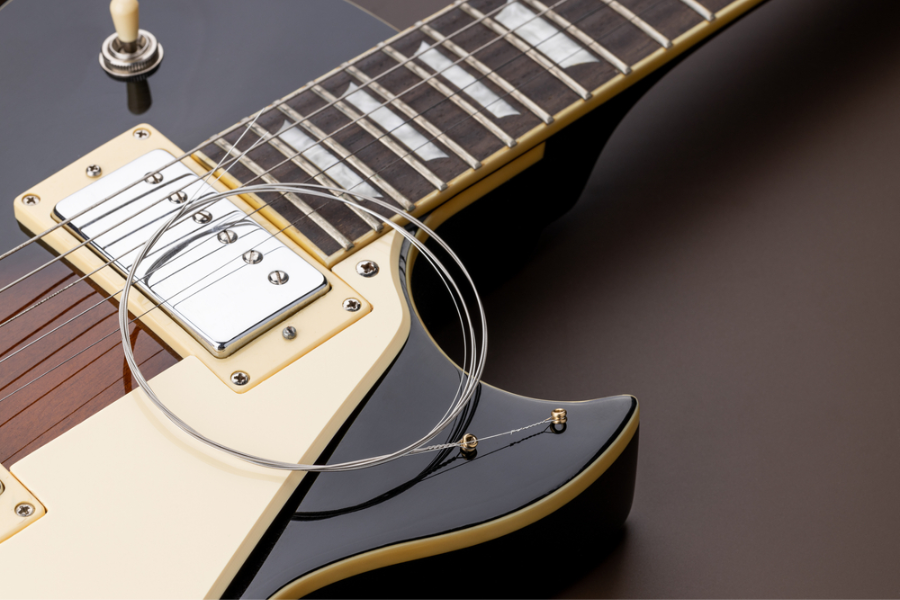
What Do We Need to Replace Electric Guitar Strings?
Having the right tools and knowledge is key to restringing an electric guitar string:
Matching types of string for the electric guitar
| String Type | Characteristics |
| Nickel-Plated Steel | Bright, crisp tone; versatile for various music styles |
| Pure Nickel | Warmer, vintage sound; ideal for classic rock and blues |
| Stainless Steel | Bright, clear tone; durable and resistant to wear |
| Cobalt | Strong output with excellent clarity and sustain |
| Flatwound | Smooth feel and mellow sound; often used in jazz |
| Halfwound | Balance between brightness and smoothness |
Preparation tools
Acoustic, Classic, Electric, and Bass guitar strings include:
- Wire cutting tools: scissors, pliers…
- Aerosol
- Head stand
- Lemon oil
- Two cloths
- Some new strings to replace
- Wire winding machine
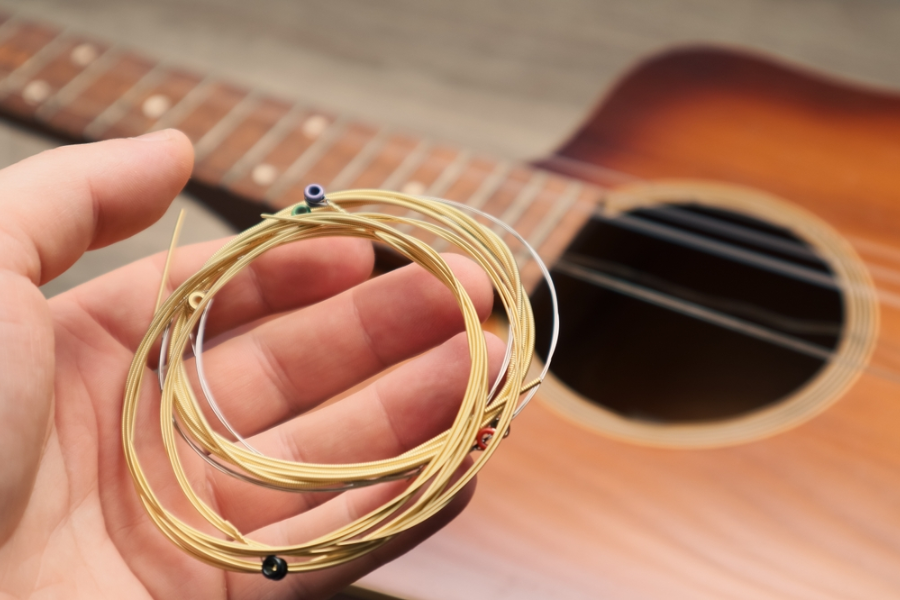
Important Notes When Changing Guitar Strings
- You can protect your instrument from scratches and keep it in excellent condition for longer if you clean it correctly. Because even tiny scratches can quickly become larger ones, rendering the instrument useless if left unattended.
- Preserve the guitar’s flawless state by cleaning it on a regular basis to remove dirt and scratches and keep it looking like new.
- The guitar produces a higher-quality, more distinct sound when played: When you’re cleaning your guitar, whether the strings are too tight or too loose, you’ll adjust them. In addition to cleaning the strings with a particular solution, it will assist you in achieving the most authentic and purest sound.
How often should the guitar be cleaned?
I believe it’s crucial to give your guitar a quick wipedown after every use if you play it often, like I do. The instrument gets a more intensive cleaning once a month, during which I make sure to wipe off the body and fretboard. If I’m playing in areas with a lot of dust or smoke, I might change this timetable and clean it more often.
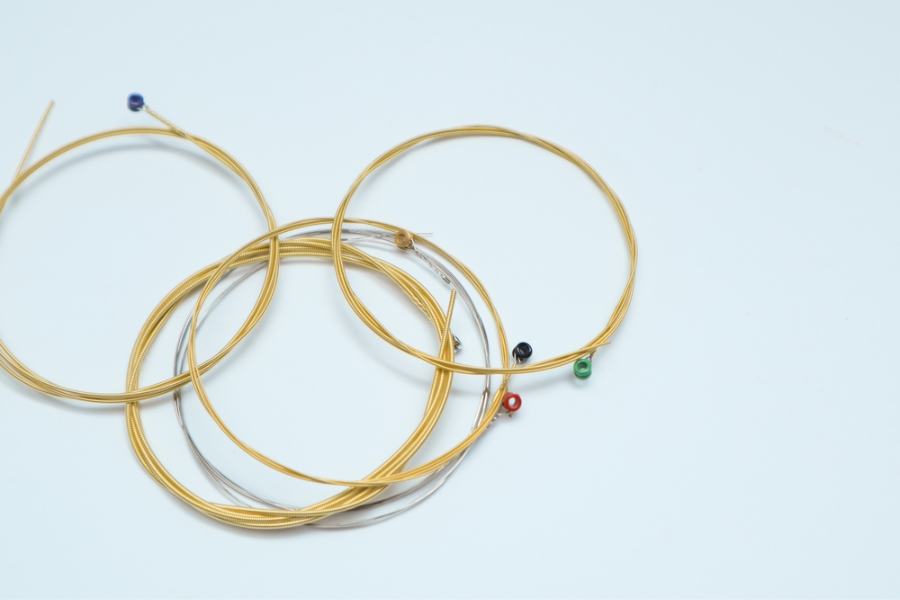
Should you polish guitar strings with vaseline or olive oil?
From what I’ve seen, it’s not a good idea to clean guitar strings with vaseline or olive oil. Both of these things have a tendency to draw in dust and debris, which can then accumulate on the fretboard and strings. When it comes to caring for my guitar, I only use materials made for that purpose. Every time I play, I simply wash the strings down with a clean cloth to keep them in good shape.
Final Thoughts
In conclusion, restringing an electric guitar ensures that your guitar maintains an amazing sound and is in good condition. Regularly changing your strings not only enhances the guitar’s performance but also gives you an opportunity to conduct routine maintenance checks on your instrument. Just with a few steps, you can clean effectively and get for your musical journey.


